
Getting started with ShipOS takes less than 10 minutes. This guide walks through setting up your first workspace with best practices from thousands of successful launches.
Before you start
Gather this information:
Project name and target launch date
Team members and their roles
Current tools (GitHub, Figma, Slack, etc.)
Existing timeline or milestone list
Step 1: Create your workspace
Choose a workspace name that reflects your team or company—this will be visible to all members and can't be easily changed.
Pro tip: Use your company name rather than a project name. You'll create multiple projects within this workspace.
Step 2: Set up your first project
Fill out the project creation form:
Project name: Be specific ("Mobile App Launch" vs. "App Project")
Target date: Your ideal launch date
Team size: Helps us suggest appropriate templates
Project type: Web App, Mobile App, Marketing Campaign, or Custom
ShipOS auto-generates a timeline with key milestones based on your inputs.
Step 3: Connect your tools
We'll detect common applications and offer one-click setup:
Version control: Tracks commits, pull requests, deployments
Design tools: Shows design progress and connects to development
Team chat: Posts updates and allows status changes from chat
Step 4: Invite your team
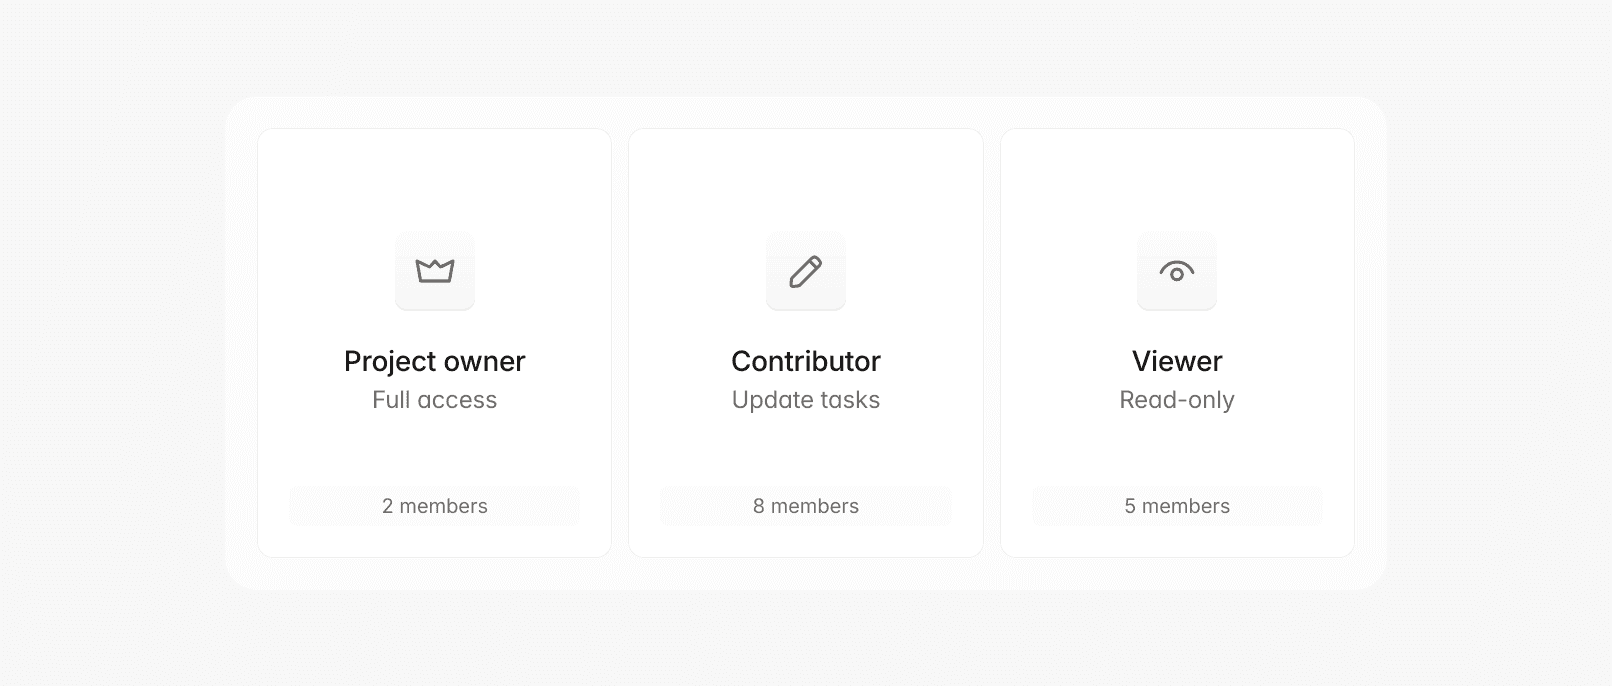
Add team members with appropriate roles:
Project owner: Full project access with
admin.permissionsContributor: Can update assigned tasks, limited by
contributor.scopeViewer: Can see status but can't make changes,
read-onlyaccess
Best practice: Start with core team members (2-4 people) and add others as needed. The system tracks invitation.pending status for follow-up.
Step 5: Customize your timeline
Review auto-generated milestones and adjust:
Add custom milestones for specific requirements
Adjust dates based on team availability
Assign owners for accountability
Set up dependencies to prevent bottlenecks
First week best practices
Days 1-2: Get comfortable with the interface. Create test tasks and mark them complete.
Days 3-4: Have team members update their assigned tasks to build familiarity.
Days 5-7: Review progress and adjust milestone dates. Early adjustments are normal.
Getting help
If you get stuck:
Use in-app help chat (bottom right corner)
Check our video tutorials
Join our community Slack
Email support@example.com
Remember: start simple, learn how your team uses ShipOS, then gradually add complexity as needed.
Marco Silva
·